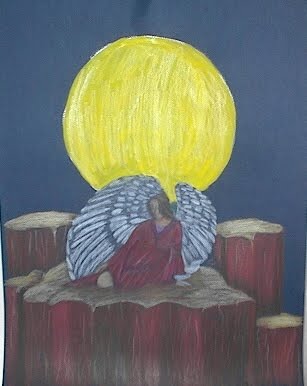
There Are Angels

There Are Angels
Colored Pencil Drawing

Wednesday, January 15, 2014

Time to organize things . . . .

Sometimes I tend to get too many things going at once & either lose track or get tired of them before they're done,anyway they get tossed to the side. I needed a written list of stuff I wanted to do, split up into monthly " assignments" to help me keep track of the projects yet not get too burnt out on any one thing. The assignments are parts of the project to get done within the month. I have 3 or 4 parts of three or four projects scheduled every month to do. I can mark each part off as I get it done. So far, I have 2 new quilts, a clutch purse, some baby items & shorts or pants for my granddaughter on schedule to make between now & May of 2014. In the past I've either gotten tired or a project or gotten overwhelmed with all I had going on, projects or parts thereof got lost & wound up in the UFO pile. I'm hoping to eliminate this with this schedule, which is flexible as I need it to be. Will it actually work? Have to wait & see what happens.

Monday, January 13, 2014

Phantom of the Woods Quilt Top

I finally finished this quilt top, so far I have about 50 hours in it. It's appliquéd, painted, pieced with a bit of thread painting in it. I have yet to quilt it. I just took my time on this project. I hope it's worth it. If you look in the middle of the piece you will see a figure floating in the space between the trees. It's done in colors similar to the background so it can " blend" into its surroundings and not be noticed.

Friday, December 13, 2013

Phantom of the Woods project

This is the second attempt at this quilting project. The first was part of the tutorial I posted here previously. This one is working out, it's has much work to be done, stitching it all down, adding details, etc. I thought it was worth posting since this attempt is working out.

Tuesday, December 10, 2013

More New Quilts

Here are a few new quilts, the basket ball quilt, the toy story quilt & the elephant quilt are all Christmas gifts for the grandkids. I made all three in 2 weeks, start to finish. The chevron quilt is one that I have just finished the top on but I've been working on it for a few weeks, in between the other three. I plan on donating the chevron quilt to the local Salvation Army & hope it will go to either an elderly person who's family may have forgotten about them (that does happen) or to someone else who's all alone. ';m sure it will go to a good cause anyway. As of this writing, I'm finishing up a pastel art quilt & have another on the drawing board. What will I do next? Stay tuned & find out.

Sunday, November 24, 2013

Weird reflection On the wall

For the past few weeks this image has presented itself on a design board setting against the design wall in my living room, behind the front door. When the sun is at the right angle, or at night from the street light , the light floods through the window in my front door thus projecting this image onto the design board. It's a face!!! Don't know of who, but it's definitely a face. I covered up the window in the front door & the image went away, so I know where it comes from. It appeared a few days after Halloween! which made it very spooky! especially at night. It's just an odd event that I thought was interesting.

Saturday, November 23, 2013

Back Up & Punt . . .

In the tutorial I posted last week, I had a project on the board in progress. The way I was doing it wasn't working, so I scraped that version only to begin another, using the same figure from the original idea. Sometime that happens, have to scrap the project as it is & start again. In short, don't expect to see a finished version of the project on the tutorial. It didn't work. IF, I get another version of the project completed to suit me, I'll post a picture then. It just won't be the same as the one on the tutorial.

Thursday, November 21, 2013

How I Make Art Quilts, the Method

You may be wondering how I make an art quilt/ What is my method of choice? Several have asked, so here is my method for making an art quilt. 1. Make a sketch, refine the drawing into something that can be easily enlarged. It should be just a black & white line drawing without extra stuff in it.
2. Enlarge that drawing into the size you want to make the quilt. You cab take it to a copy shop for enlargement, redraw it onto large format paper, I use bulliten board paper from a local school supply store that comes in rolls 48" wide, or trace the drawing onto a transparency & project the image using an overhead projector, if you have one. Sometimes these can be borrowed or rented from a library or school.
3. Mark the front & back sides of the enlarged as such, this is important to tell the front from the back of the drawing. 4. Also make a few copies of the original drawing for color studies. 5. Once you have the color studies done & have decided on a color plan, turn the enlarged drawing over to the back. Trace the entire drawing again. I use a different color marker on the back to differentiate the front from the back. 6. On freezer paper, trace the drawing again. Place hash marks (//) across adjoining lines on each each section of the drawing. These are registration marks for lining up the pieces correctly on the quilt top.
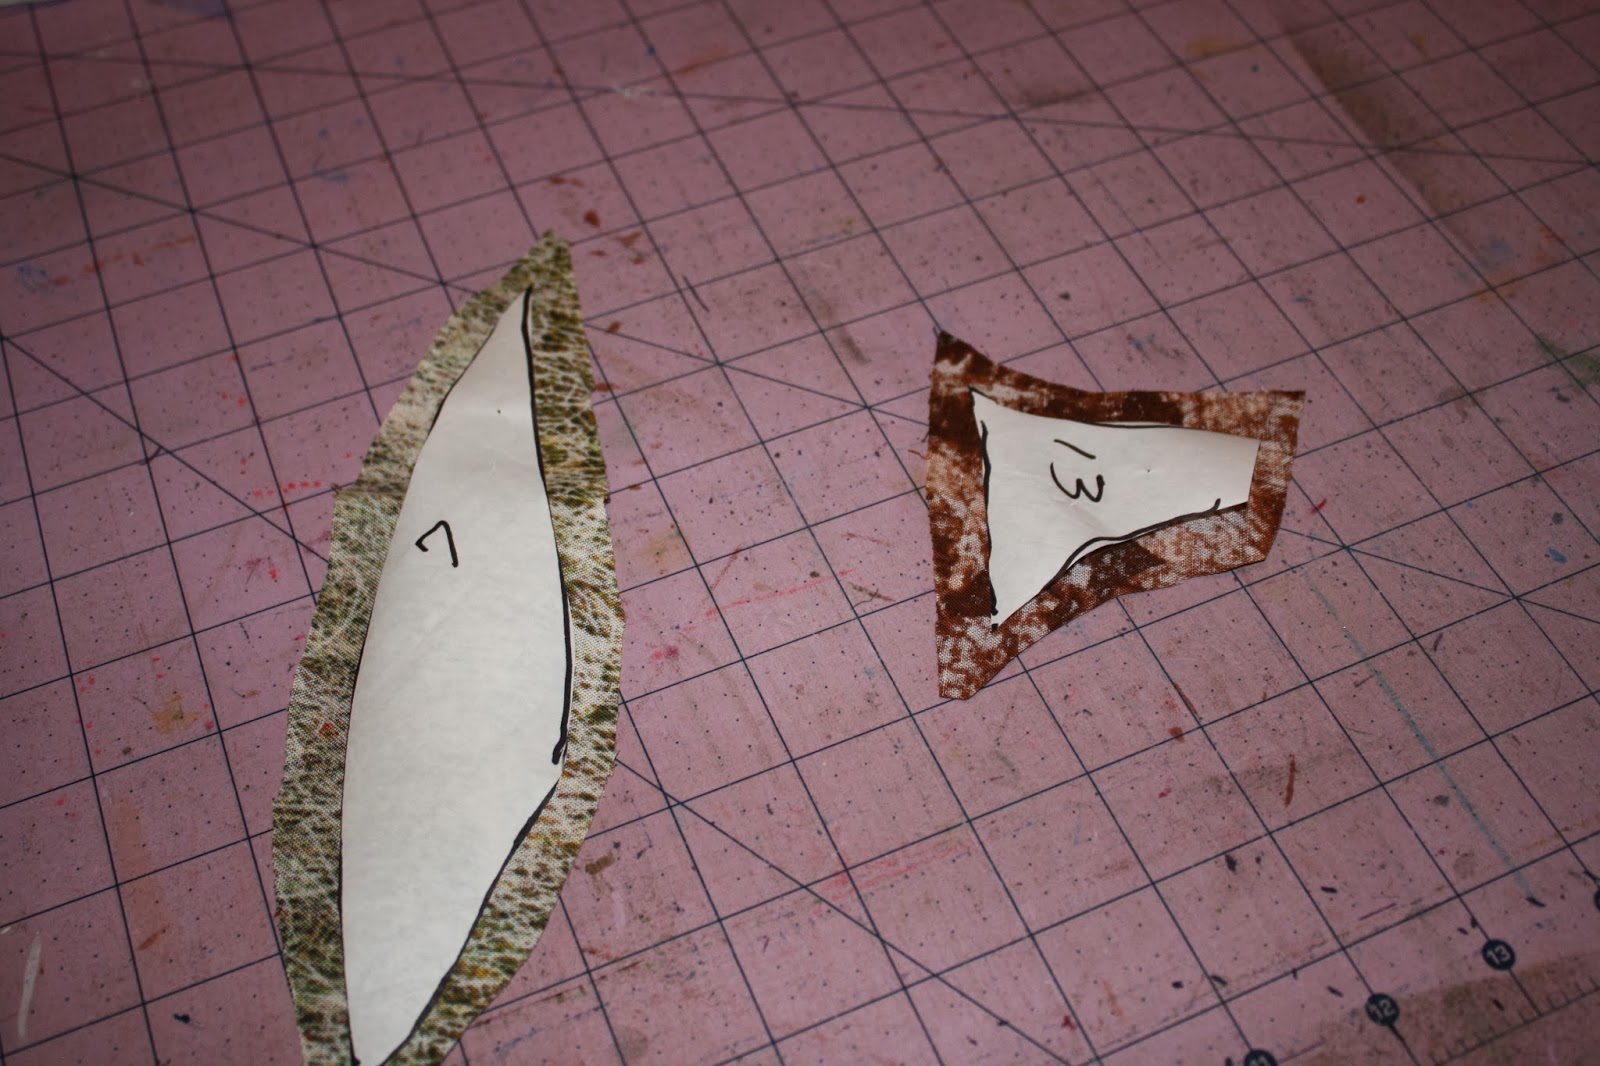
7. On the front of the enlargement, mark each section of the drawing with a number or letter, (1,2,3 or A,B,C) them mark the same sections of the freezer paper with the same letter or number as on the enlarged drawing. Be sure they all match. 8. On a base, muslin, interfacing, stabilizer, etc., trace the image again from the enlargement by placing the base over the enlargement & tracing. Be sure to mark all the sections with the letter/number matching that on the enlargement. You are done with the enlargement for now. 9. Select fabrics according to the color scheme. For this type of quilt, where the design is the most important, tone on tone, batiks, & such work best. Large scale prints are not always a good option since they draw the eye away from the design of the quilt. 10. Once you have selected your fabrics, you can carefully cut apart the freezer paper sections of the drawing. Remember these are traced from the WRONG side of the picture.
11. Now you can press the freezer paper sections to the fabrics chosen for each section. Press each freezer paper section to the BACK of the selected fabric. Cut each section out, a few at a time, leaving about a 1/4 inch margin from the freezer paper on all sides. This is your seam allowance.
12. Working from the CENTER, lay out the pieces of fabrics matching the number/letter on the piece with the corresponding section on the base drawing. Pin them on,determining which piece will lay on top of which piece/ which will overlay & which will underlay. The piece on top will have the seam allowance tuned under for a smooth seam. (Ignore this if you are sewing the pieces together in the usual manner).
13. If you use an overlay method to attach the pieces to the base, either press or glue stick or baste down the top overlay for a smooth edge. If the piece is curved, clip the curves so the piece will sew down flat. REMOVE the freezer paper & pin the section to its' corresponding section on the base. There are numerous posts onlins or on YouTube that show this method. 14. Now you can begin to stitch down the pieces to the base. I use either a corresponding color thread, a monofillament(clear) thread, or a neutral thread that won't show up much. If the stitches do show more than you like, color over them with a marker of the same color as the piece. 15. Once the stitching is complete, quilt & finish as desired. The photos shown here are a work in progress, I will post the photo of the completed piece once it's finished. Congratulations! You have made an art quilt. I hope this little tutorial explains the method to the madness & it can get maddening sometimes. Enjoy & let me know what you think.